
Quick Setup of LuvLink Digital Photo Frame
Setting up your LuvLink Digital Photo Frame is simple — just plug it in and it walks you through everything on screen. You'll pick a language, connect to Wi-Fi, install any updates, add your name and location, and set the timezone. The whole thing takes just a few minutes, and then you're ready to receive photos.
Before you start
Take the frame out of the box and plug it in using the power cord included in the package. From here, the frame guides you through each step on screen.
Setup steps
1. Choose your language
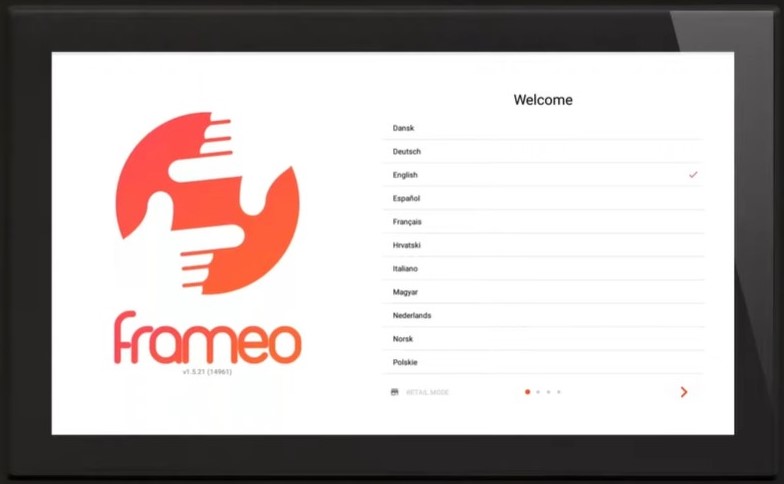
Select the language you'd like to use. This sets the language for all menus and prompts on the frame.
2. Connect to Wi-Fi
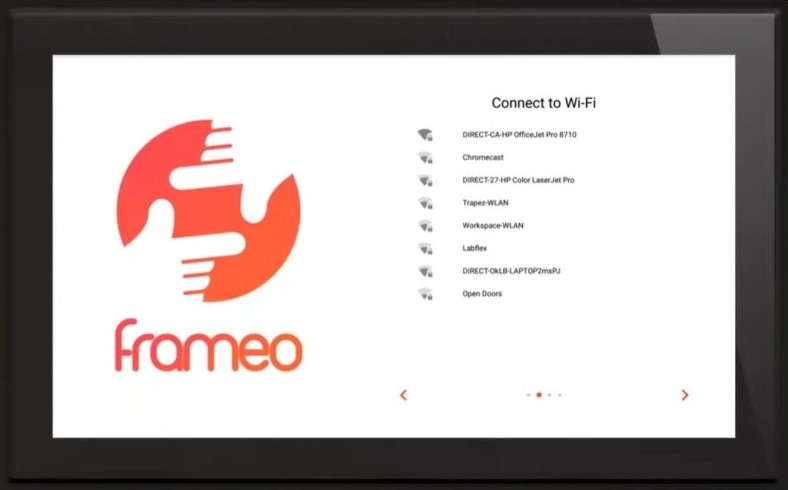
Choose your home Wi-Fi network and enter the password. A steady internet connection is what lets the frame receive photos from the people you love.
3. Update the frame (if prompted)
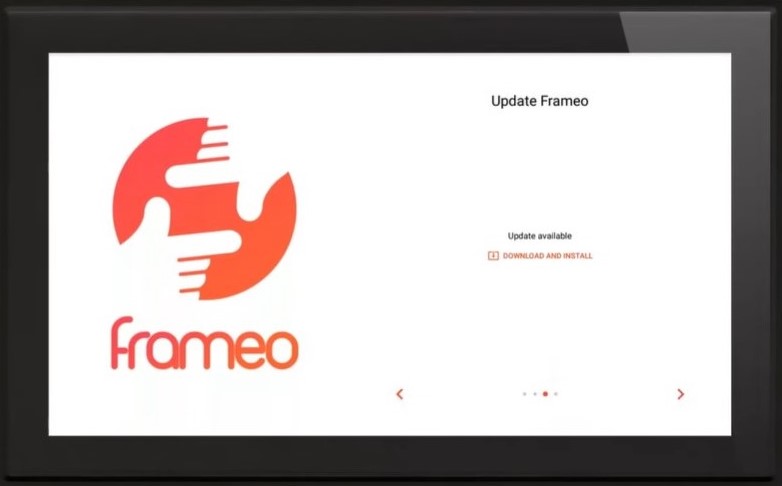
If the frame tells you there's an update available, install it before moving on. Updates bring new features, better performance, and bug fixes.
4. Personalise it
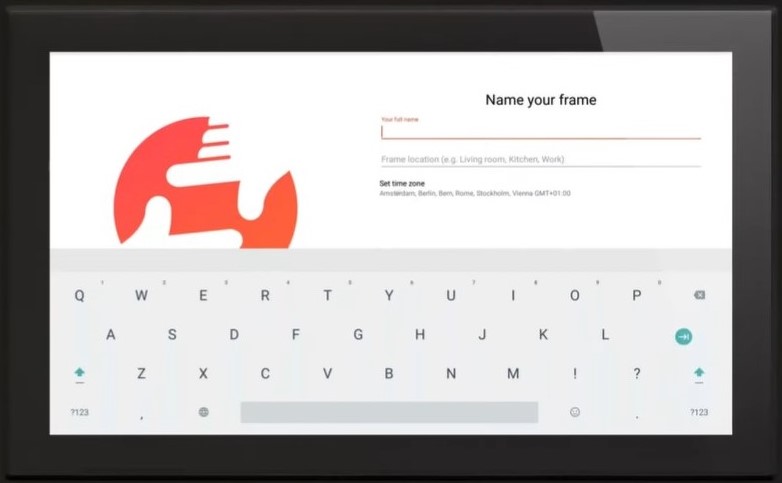
Enter your name and where the frame will live — for example, "John Doe" and "Living Room", "Kitchen", or "Office". This makes it easy to spot your frame in the app and when sharing with others.
5. Set the timezone
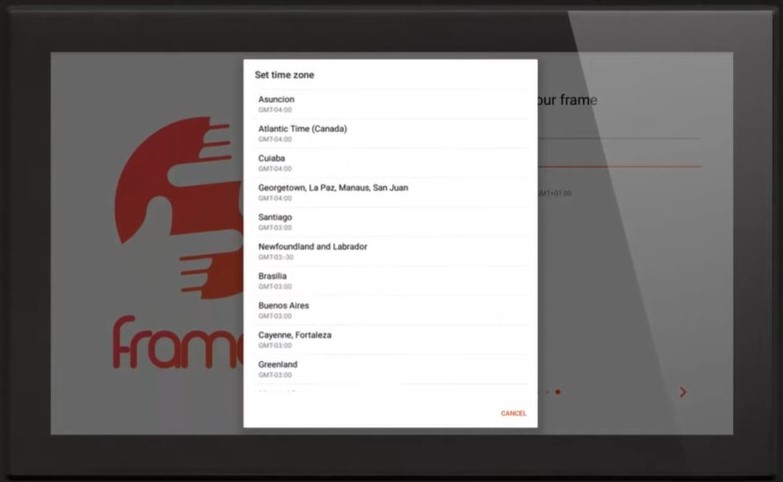
Check that the timezone matches where you are. If it's off, you can fix it right here. Also make sure the time and date are correct before you continue.
Watch the setup video
Here's a video tutorial that walks you through the steps for a smoother setup experience.
What's next
Your Digital Photo Frame is now connected and ready to be linked to your family and friends' phones — including your own.